It’s no secret that powder coating is a durable and eco-friendly solution with a wide range of available finishes—that’s why it has become one of the most popular finishing methods across various industries. From beach chairs, coolers, and lamp posts to industrial equipment, powder coating provides the best coating solution for your next project. So you can better understand the power of powder coating and its benefits, I’m here to break down its application process.
1. Surface Preparation
The foundation of a high-quality powder coating lies in proper surface preparation. Ensuring that the underlying material is clean and free of contaminants is crucial for the coating to adhere properly and achieve a smooth, even finish. You can start your surface preparation by removing dirt, grease, and oil with a degreaser or specialty cleaning solution and then move to sanding or stripping any existing coatings. Once you’ve finished removing contaminants, it’s crucial the surface is completely dry as moisture can interfere with the powder’s ability to stick.
2. Masking and Plugging
To ensure that powder only adheres to the desired areas, masking and plugging are necessary. Masking involves the use of high-temperature-resistant tape or special masking materials to cover areas that should not be coated. Common examples include threaded holes, bearing surfaces, or areas that need to remain conductive. Plugging uses silicone plugs or caps that can be used to cover holes, studs, or other parts that need protection from the coating.
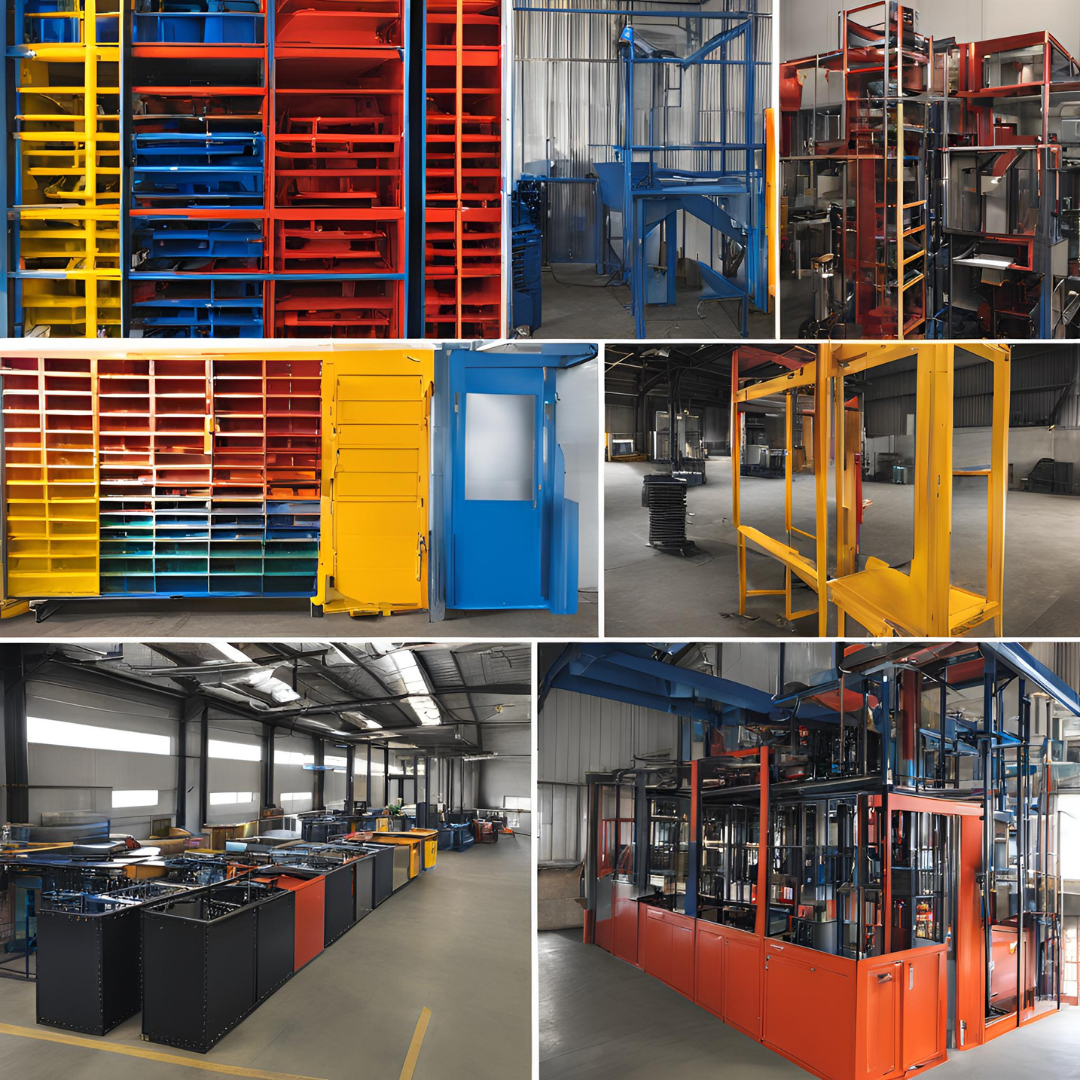
3. Applying the Powder
Now that the surface is prepared and masked, it’s time to apply the powder coating. First, you have to choose your desired color and finish based on your project’s requirements. Then, the powder is applied using a spray gun that applies an electrostatic charge to the powder particles. These charged particles are attracted to the grounded object, creating an even coating. Hold the spray gun at a consistent distance from the surface to ensure an even application. Apply the powder in thin, even layers to avoid clumping or unevenness. Depending on the part’s complexity, you may need to adjust your technique to ensure coverage in all areas.
4. Curing
Curing is the process that transforms the powder into a hard, durable finish. After the powder is applied, the object is placed in a curing oven. The heat melts the powder, which flows into a smooth, even coating. The typical curing temperature ranges from 350°F to 400°F, depending on the powder’s specifications. The object must stay in the oven for roughly 10 to 20 minutes to ensure the powder fully cures. Once the object is fully cured, it needs to cool down. Allow it to cool naturally before handling to avoid damaging the finish.
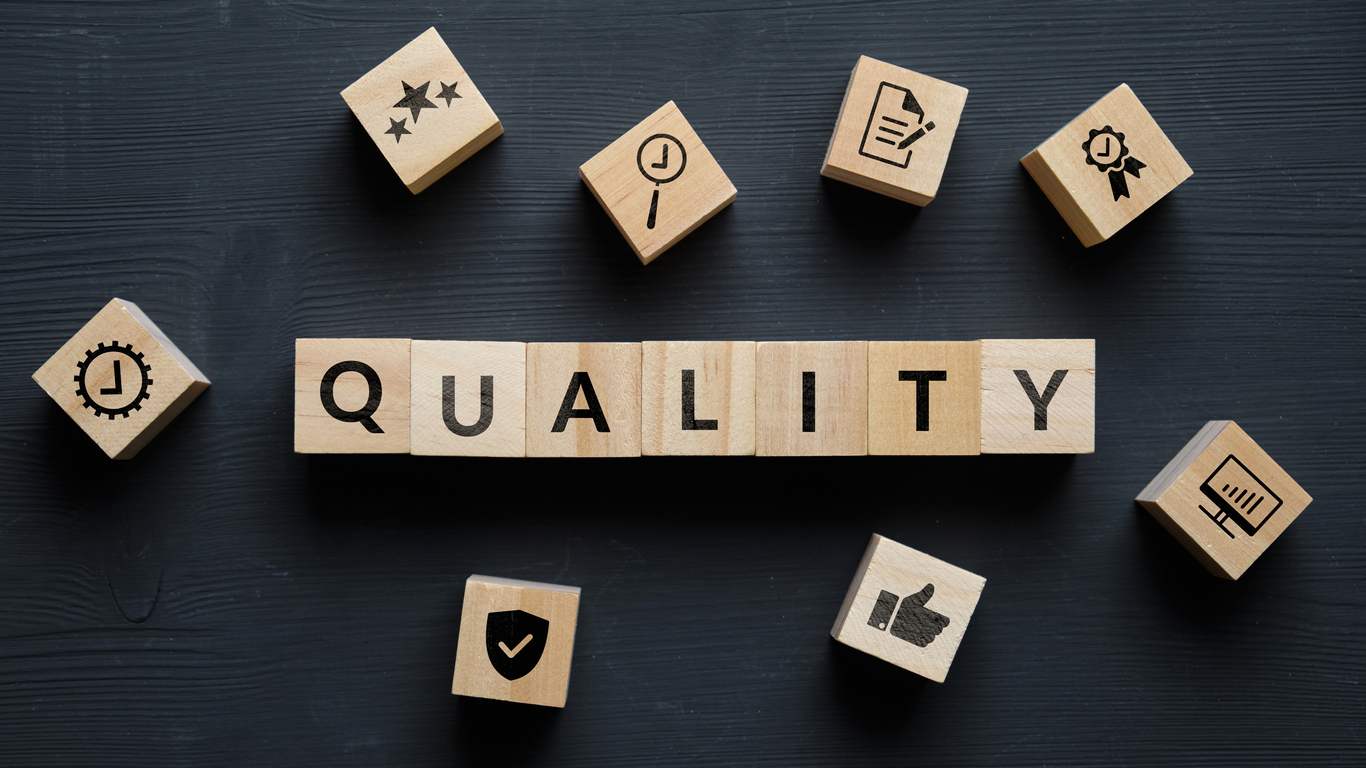
5. Inspection and Quality Control
After the coating has cooled, it’s important to inspect the final product for quality. Check the surface for any defects like orange peel, pinholes, or uneven coverage. The finish should be smooth, consistent, and free of imperfections. Use a thickness gauge to ensure the coating meets the required specifications. The ideal thickness typically ranges from 2 to 4 mils (50 to 100 microns). An adhesion test can also be performed to verify that the coating is properly bonded to the surface.
6. Finishing Touches
Once the inspection is complete, you can start removing any masking tape, plugs, or caps used during the application process. Next you can begin assembling the pieces to create the final product or package and perform a final inspection to ensure the product meets all quality standards before it’s shipped or installed.
Remember, the quality of your powder coating is directly related to the care and attention you give to each step. So, take your time, follow best practices, and enjoy the satisfaction of a job well done!